My new granddaughter is proving to be just as stubborn as her mother - she is now a week late! If no baby by Friday, my daughter will probably be induced (as long as the hospital has room).
To keep my mind off of things, I decided to make a trial block for my Sunkissed quilt. The overwhelming consensus was to do a Snail Trail (also known as Parasols or Virginia Reel). The patterns I could find all involved 1/8" and 1/16" measurements so I decided to wing it! Here's a photo story on what I did:

First, I wanted a block between about 6 1/2-9", tough to find a pattern that size so I "guesstimated" the starting strip by looking a few book patterns. I started by cutting 1 1/4" strips from 4 different fabrics. (Part of my Sunkissed stash included some sample pieces bought from my local quilt shop - they sell off the samples they receive from the manufacturers pretty cheap so I started with those). I sewed the strips together in pairs, then cut a 1 1/4" piece of the end of each each and sewed the two pieces together to make a 4-patch that finished at 2 inches including seam allowances. I also pressed the seams open to avoid any problems later on.

Now comes the tricky part, calculating the size of block to cut for the triangular pieces. I measured one size (2") and subtracted 1/2" to figure out what the finished size will be (1 1/2"). Then I added 3/8" to the finished size for a measurement of 1 7/8". I cut that size block from each of the 4 fabrics, then cut each in half from corner to corner. You have to add that extra little smidge to account for cutting the block in half to make a Half-Square Triangle (HST). I sewed two opposite sides first, matching it to the block of the same fabric, then trimmed off the dog ears. I used one (HST) from each fabric and put the other aside for use in another block.

I labelled it to make it easy to use later on. My Snail Trails will have 5 rounds in total.
Next, I pressed all my seams open before adding the other two HSTs.

I wasn't perfect getting the triangles centred on the seam, but the next step fixed that!
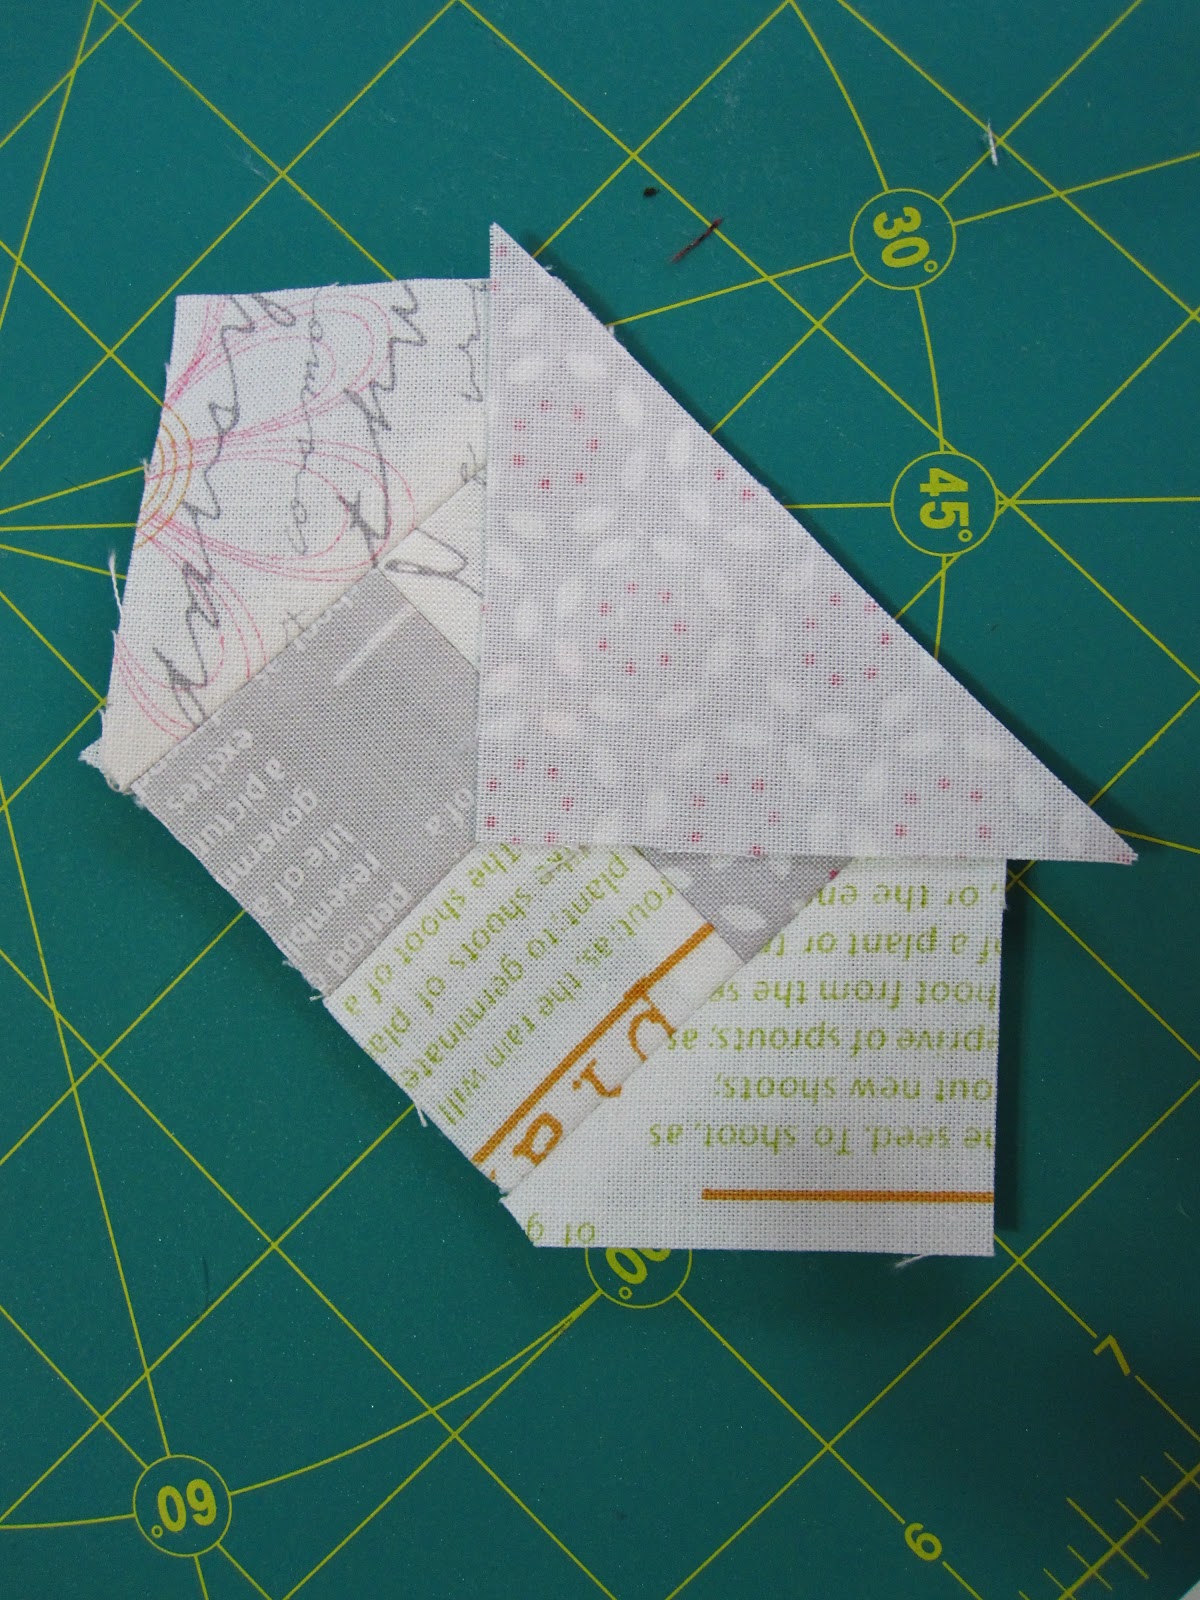
You can see that by making the HST block a little larger, it hangs over the edge of the adjoining triangle, which will leave you with a proper seam allowance.

Round 2 is now complete! I squared it up and moved to the next round. I measured one side, figured out the finished size and added 3/8" to calculate my next block at 3 1/4".

Can you see my mistake? I put the HST on the wrong side. When I attached my first set of triangles, they "move" to the left of the original square. That means when I'm attaching the next round, I have to keep the same "movement" to the left. Instead, I went right. Time to pull out the seam ripper!

Now that Round 3 is complete, it's time to square it up. I lined up my ruler centering it on the four-patch in the center first, then adjusting it so that I am trimming it down to 1/4" seam allowance from the point where the triangles cross. See the close-up below:

My block now measures 4 1/2", finishes at 4" so my next set of HSTs are cut from a 4 3/8" square. Round 4 makes a 6 1/4" block, finishing at 5 3/4. Now I was starting to get nervous because I needed to cut
6 1/8" squares and my fabric sampler pieces didn't look big enough. However, with some careful cutting and even more careful sewing, I was able to squeak them out!

Here you can see that the one side is pretty skimpy compared to the other side (the grey ones were skimpy too). But once it was all trimmed up, I had an 8 5/8" block - perfectly fits right at the size I wanted!

At this point, I remembered that I don't want the same colour darker value in each block - drat! I guess that's why they call it a trial block. I'll keep it in case I need it to finish the quilt. I love how it looks and for me, it's easier to cut the HSTs as I go, instead of a whole bunch at once. Because I'm trimming them up as I go, I also don't have to be finicky on those pesky 3/8" measurements. As long as I'm doing my squaring up, I should be good! Now I just have to calculated how many I need to make a double-size quilt.
WOW! I love your test block. Thanks for the step by step. I love the look of these blocks but haven't made one yet.
ReplyDeleteThanks, Kris. I've realized I really enjoy seeing how others get to the finish mark, so I'm going to include more of the process in my posts.
ReplyDeleteThe colors you chose are so calming! Good luck on the project!
ReplyDelete